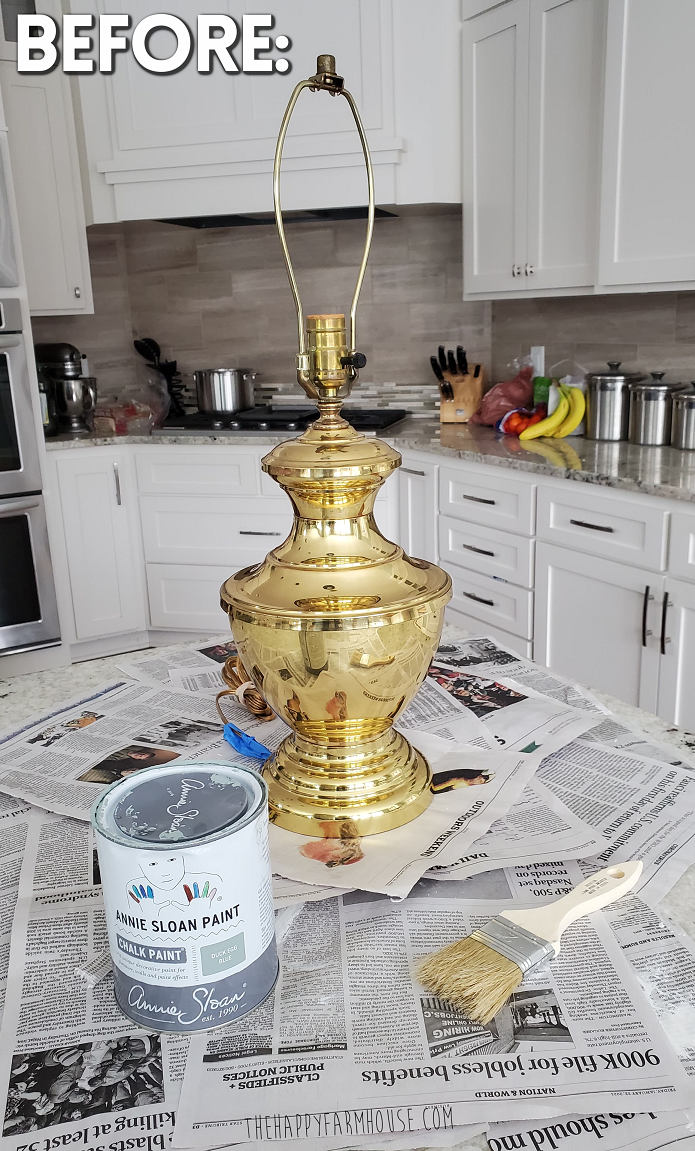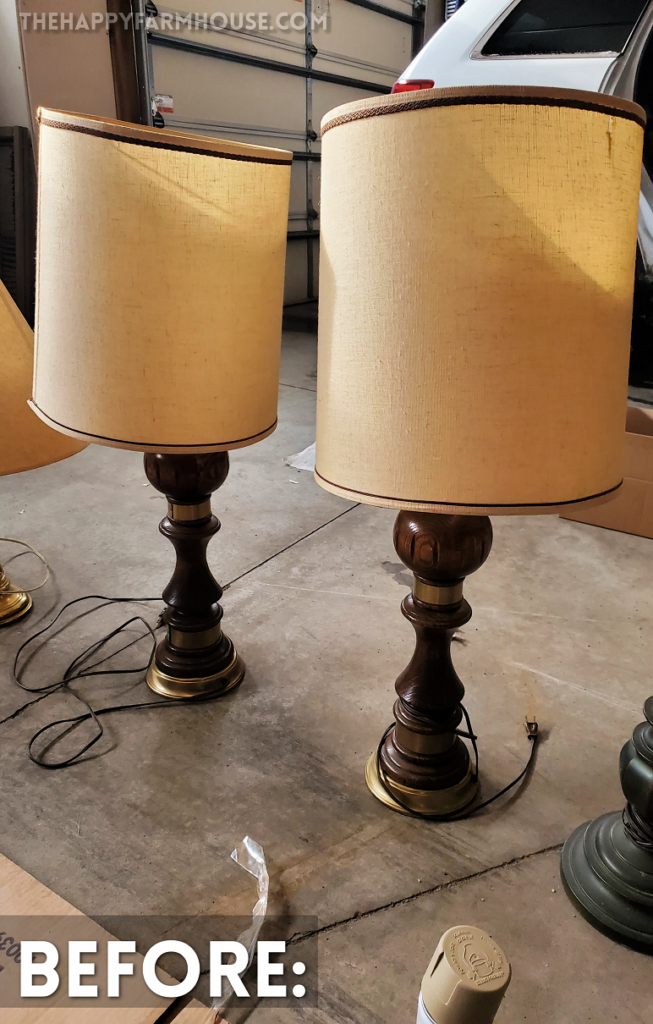
I have been wanting to get farmhouse lamps for a long time now and just couldn’t pay the $188 they wanted for two of them. So I set out to my local Goodwill thrift store and was on the hunt for the ugliest chunky lamps I could find. In fact, my husband and mom said “are you kidding me?!” when I brought them to the checkout. They really had no vision for them, but I did! As soon as I got them home I realized they were from a frequent smoker home and they REAKED!
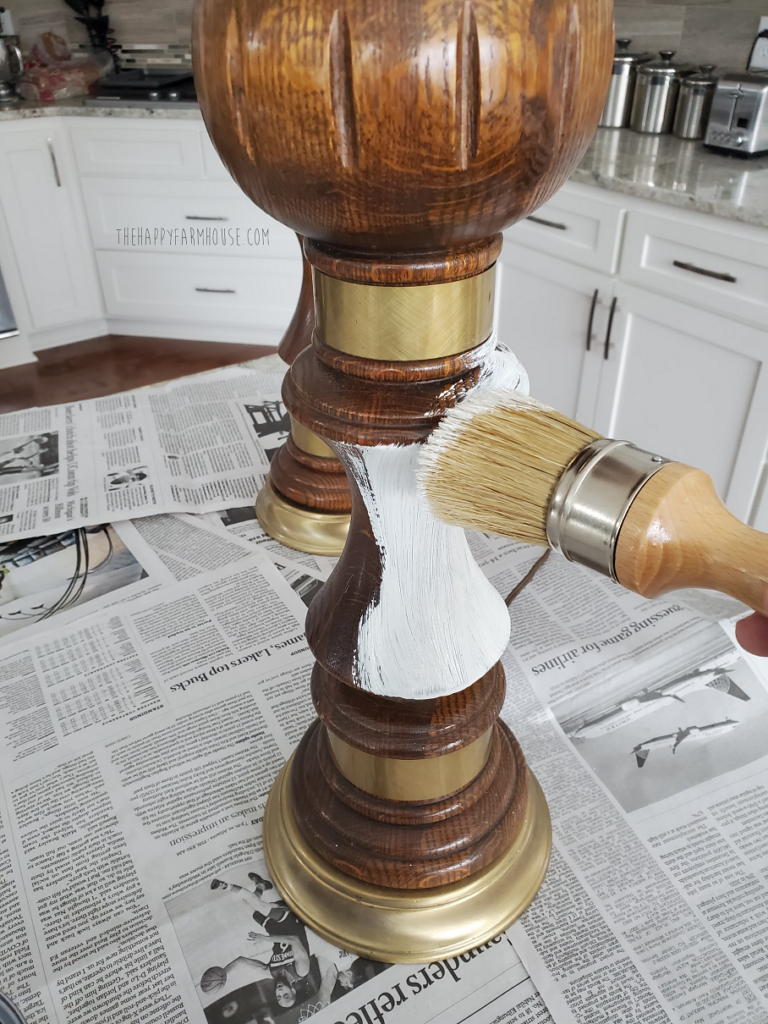
I went to my local chalk paint store and got Annie Sloan chalk paint in the colors Old White and Chicago Grey as well as some paintbrushes, and clear wax. First, use blue painters tape and wrap it around the top part. You can also shove the lamps cord in a ziploc bag and tape it off but I wanted the cord to be white so I just painted that too.
It was pretty basic to paint the lamps but I soon realized less is more. You don’t want to cake it on or it shows more brushstrokes and it gets cakey. Just put some on your paintbrush then do long strokes around the whole lamp before you dip it again. This way it’ll look better. No need to sand them either!
Here’s after one coat and it will look streaky but that’s normal. The second coat is where the magic comes! Make sure to let it dry for a few hours. I learned that even if it looks dry, it’s not.
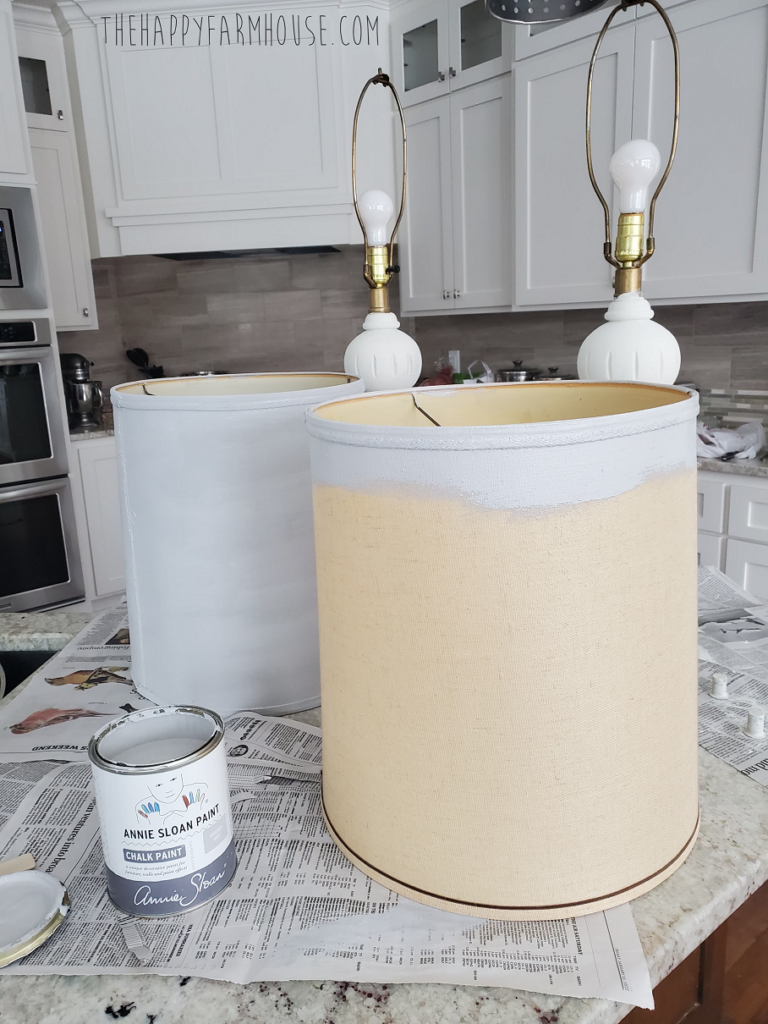
The next project was to chalk paint these disgusting old lamp shades. I looked online and realized the 14 inch long lampshades were going from $35-80 a PIECE! Ridiculous. So I grabbed my grey Annie sloan chalk paint and started brushing. I also painted the inside with the white paint.
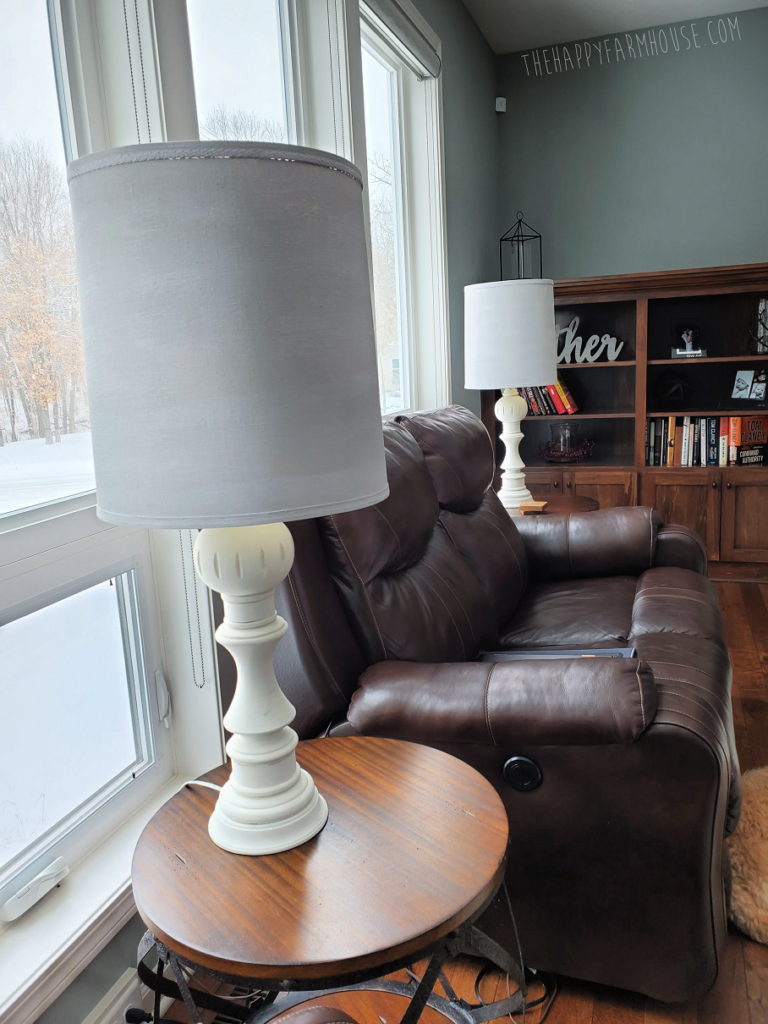
After the lamps were dry, I added a coat of clear wax and wiped with a lint free rag the excess off. Then I came back after 12 hours and rubbed it off the opposite way to seal it. I think next I will distress them by using a bit of sand paper. My husband was pretty impressed with the way they turned out. Hope you liked this and try it for yourself!